
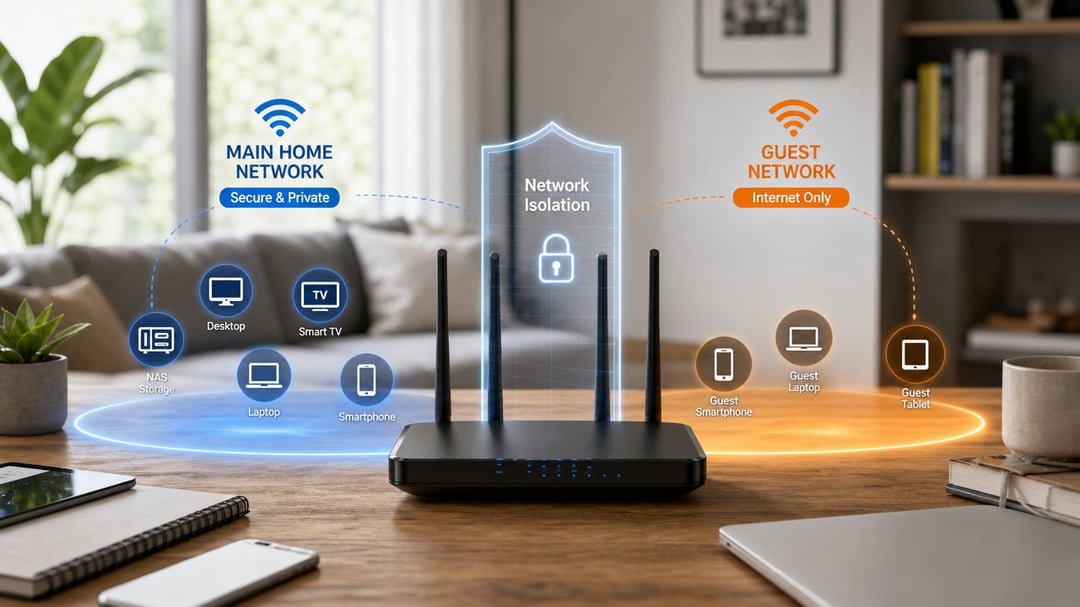
Letting friends and family connect to your home WiFi means giving them access to the same network your computers, phones, and smart home devices use. Most people don't realize that without a guest WiFi network, visitors can potentially browse shared folders, see networked printers, or expose your devices if their laptop is already compromised.
Setting up a separate guest network isolates visitor traffic from your main devices and creates a security boundary that protects your personal data. You'll learn how to enable guest access on your router, configure proper network isolation, choose encryption settings that balance security with compatibility, and verify that the separation actually works. By the end, you'll have a secure guest network that keeps your visitors connected and your home network protected.
Why you need a separate guest network
A guest WiFi network creates a separate broadcast that isolates visitors from your main network and every device connected to it. When guests join your primary network, they share the same local subnet as your computers, phones, and smart home devices. That arrangement lets anyone on the network scan for other devices, attempt connections, and potentially access shared resources.
The security risk extends beyond trusting your guests. Your primary WiFi password might be saved on their devices, synced to cloud accounts, or written down somewhere you can't control. If that credential leaks, whoever obtains it can join your network from the street.
IoT devices and smart home gear rarely require authentication beyond being on the right network. A guest on your main network can discover and interact with smart locks, cameras, thermostats, and voice assistants. The same access applies to shared folders, printers, and NAS drives. Network segmentation removes that exposure entirely. Guests get internet access, your devices stay isolated, and you avoid handing out credentials that protect your local infrastructure.
Check if your router supports guest networks
Most routers manufactured after 2015 include guest network capability, though the feature goes by different names depending on the brand. To check yours, open a web browser and enter your router's gateway IP address in the address bar. This is typically 192.168.1.1 or 192.168.0.1, though you can confirm it by running ipconfig (Windows) or ifconfig (Mac/Linux) in a terminal and looking for the default gateway.
Once logged in with your admin credentials, navigate the interface to locate the guest network option. On Netgear routers, look under Guest Network in the main menu. Asus places it under General > Wireless > Guest Network. TP-Link typically lists it in the Wireless settings section. Linksys routers show Guest Access as a top-level menu item.
If your router doesn't offer this feature, check the manufacturer's website for a firmware update that might add it. Older models without guest network support should be replaced, since they often lack other important security features as well.
Configure the guest network with proper isolation
Once your guest network is active, find the isolation and restriction settings in your router's guest network panel. These controls determine whether guests stay confined to internet access or can reach your main devices.
Enable AP isolation
AP isolation (also called client isolation or wireless isolation) prevents devices on the guest network from communicating with each other or accessing anything on your main network. When enabled, a guest's laptop cannot see your NAS, printers, smart home hub, or other guests' phones. The guest device can only reach the internet. Every router interface labels this differently: look for "client isolation," "guest isolation," or "isolate guests from local network." Turn it on.
Set bandwidth limits
Most routers let you cap guest network speed as a percentage of total bandwidth or as a fixed rate. Setting a limit of 50% or 10 Mbps prevents a guest streaming 4K video from choking your work video call. Adjust based on your total bandwidth and typical guest count.
Configure access schedules
If you host occasionally, schedule the guest network to activate only during events. Turn it off overnight or when you're away to reduce your attack surface.
Choose a secure password and encryption standard
Set your guest network to WPA3 if your router supports it. WPA3 encrypts each device's connection individually and protects against offline password-cracking attacks. If WPA3 isn't available, use WPA2 as the minimum standard. Both encrypt traffic so guests on your network can't intercept each other's data.
Never use WEP or leave the network open. WEP encryption can be cracked in minutes with free tools, and open networks broadcast everything in plaintext, letting anyone nearby see unencrypted traffic.
Create a guest password that's unrelated to your main network password. Use at least 12 characters with a mix of letters, numbers, and symbols, but keep it simple enough to read aloud or write on a card for visitors. Passphrases like "Purple!Cactus$2024" work well because they're strong yet easy to share without confusion.
Change the guest password every few months or after hosting large events when many people connected. This limits how long old credentials remain valid and reduces the chance that a leaked password gives strangers access to your network.
Test the guest network and confirm isolation
Connect a phone or laptop to the guest network using the password you set. Confirm that the device gets an IP address and can load external websites like google.com or run a speed test. This verifies basic internet access.
Next, test isolation. From the guest-connected device, try to access a resource on your main network. Open a browser and type the local IP address of a computer, NAS, or printer on your primary network (for example, 192.168.1.15). If isolation is working, the connection will time out or fail. You should also be unable to reach your router's admin panel by entering its IP address from the guest device.
For thorough verification, install a network scanning app like Fing or Net Analyzer on the guest device. Run a scan. The app should show only the guest device itself and possibly the router's guest interface. No computers, smart home devices, or other hardware from your main network should appear in the results. If main-network devices show up, revisit your isolation settings.
Get your guest network running and test it
Setting up a guest WiFi network takes about ten minutes and protects everything on your primary network from accidental exposure. Start by enabling the guest network feature in your router settings, turn on AP isolation, and set WPA2 or WPA3 encryption with a unique password. Once it's running, connect a test device and verify that it can reach the internet but cannot see your main network devices or router admin panel. If your current router doesn't support guest networks, consider upgrading to a model that does—the isolation it provides is worth more than any password policy alone.