
The need for a private development network
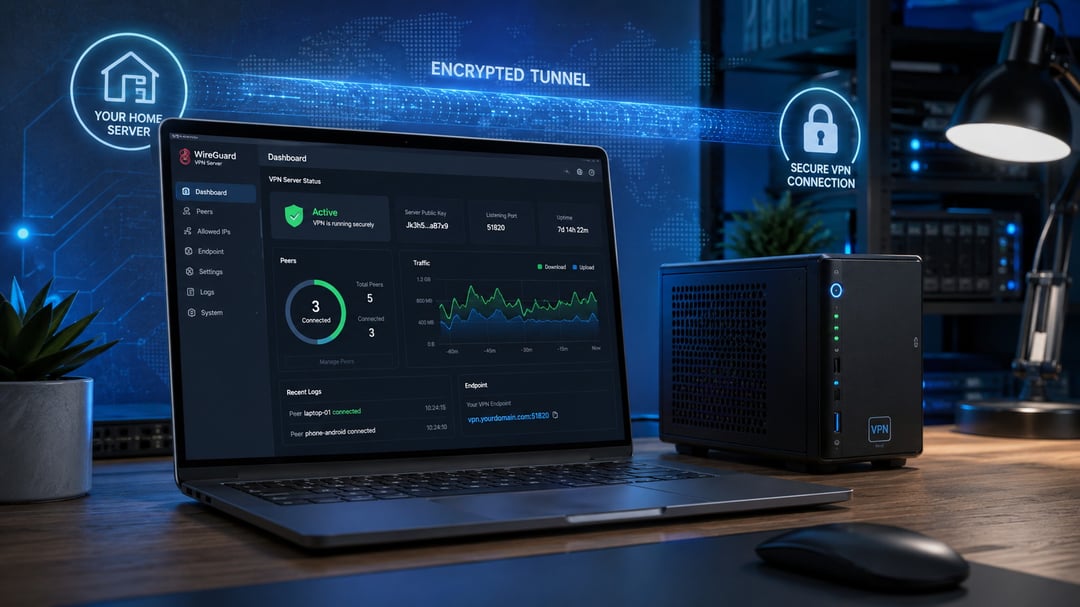
Software developers frequently need to access local test servers from external networks when demonstrating an application to a client. Exposing these internal backend services directly to the public internet introduces severe security risks. Automated scanners constantly search the web for open ports and vulnerable development environments. A virtual private network establishes an encrypted tunnel for your remote access so you can bypass strict NAT restrictions safely. You can test incoming webhooks from external providers securely and you can query cloud databases without opening firewall ports. The tunnel ensures your unreleased data remains isolated from the public internet. This isolation prevents accidental data leaks during the early stages of software development.
Why I self-host my VPN for dev work
Most commercial VPN providers target consumers who want to bypass streaming geo-restrictions. These commercial services prioritize raw bandwidth over reliable network infrastructure so they fail to support complex workflows adequately. Commercial solutions constantly rotate your assigned IP address to avoid streaming blocklists. A self-hosted VPN grants you a static IP address permanently. You absolutely need a consistent IP address for whitelisting on remote cloud databases.
Data privacy is another major factor for self-hosting your own infrastructure. Commercial providers often route your traffic through shared servers alongside thousands of other users. You control the traffic logs entirely when you host the server yourself. No third-party company monitors your sensitive development data or intercepts your API keys.
You can also configure custom split tunneling for your local network traffic. Split tunneling directs only your specific development traffic through the encrypted VPN tunnel. Your normal web browsing routes directly through your standard ISP connection. This configuration prevents latency issues during video calls and it keeps your personal browsing separate from your professional environment.
Prerequisites for the build
You need three basic resources to complete this custom network setup. You first need a virtual private server from a trusted cloud provider. DigitalOcean and AWS offer inexpensive Linux instances perfect for this specific application. You should select a data center physically close to your primary location. This physical proximity minimizes network latency during your remote development sessions.
You must possess basic familiarity with the Linux command line interface. The setup requires executing terminal commands and you must edit text files manually. You will use standard command line tools like nano or vim for the configuration. You finally need a primary machine running a standard desktop operating system. MacOS and Windows both support the necessary WireGuard client software natively.
How I set it up
I prefer WireGuard for my private development network. Older protocols like OpenVPN contain massive codebases and they require complex certificate authorities. WireGuard operates directly inside the Linux kernel for maximum routing performance. It utilizes modern cryptography and it requires very little initial configuration. The total codebase is small enough for independent security researchers to audit thoroughly.
Provisioning the server
Start the setup by deploying a basic Linux instance on your cloud provider. Ubuntu Server is a reliable standard with excellent community documentation. Log into your new server using SSH and update the core system packages. You use the apt package manager to download the latest software versions.
You must then configure the uncomplicated firewall to secure the new server. Deny all incoming traffic by default to block malicious scanning scripts. Allow SSH access to prevent locking yourself out of the remote machine. You must also open a specific port for your incoming VPN traffic. WireGuard uses port 51820 for UDP connections by default.
Installing and configuring WireGuard
Install the WireGuard software using the default Ubuntu package manager. The installation provides the necessary kernel modules and command line utilities. You must generate public and private key pairs for your server and client. The command line tools create a secure private key instantly. You derive the corresponding public key directly from that private output.
Create a new configuration file in the wireguard directory on your server. You define the server listening port and its private key inside this text file. You also assign an internal IP address subnet for your private network. You then add a peer section containing your client public key. This peer section tells the server which devices can connect to the network.
Connecting the client
Download the official WireGuard application for your local development machine. Open the software and create a new empty tunnel configuration. You enter your client private key and you assign a local internal IP address.
You then create a peer section targeting your remote cloud server. Input the server public key and its public static IP address. Specify the allowed IP ranges to control your split tunneling behavior. Start the connection through the client interface to initiate the secure tunnel. You can verify the internal routing by pinging the remote server IP address.
Maintenance and security updates
A self-hosted VPN requires active management to remain completely secure. You cannot deploy the server and forget about its routine maintenance. You must apply security patches to the Linux operating system regularly. Unpatched servers eventually fall victim to automated vulnerability exploits. Enable automatic security updates on your Ubuntu server to simplify this ongoing process.
You should also review the server authentication logs periodically. The system log files record all SSH login attempts and critical system errors. This logging helps you identify unauthorized access attempts early. You might consider changing your default SSH port if you notice excessive brute-force attacks. You should also update your WireGuard cryptographic keys every few months for maximum security.