
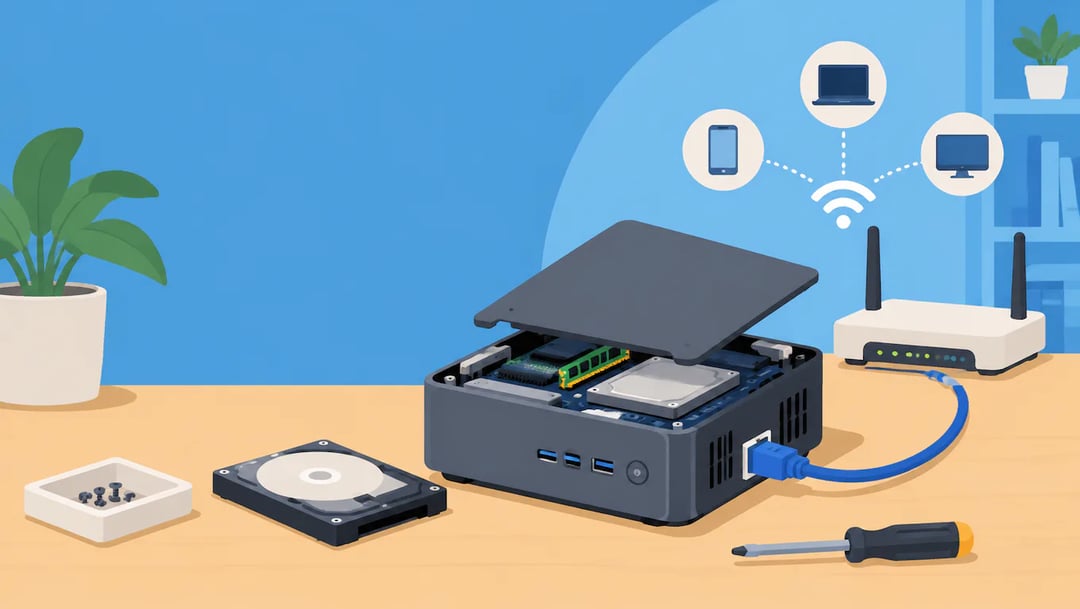
An old mini PC may have enough life left for a home server, but it is hard to know whether its storage, memory, and network connection can handle the job. This guide to How to Turn an Old Mini PC into a Proxmox Home Server walks through the checks and setup choices that help you avoid wiping the wrong drive or ending up with a server you cannot reach.
You’ll learn how to prepare and install Proxmox VE, connect to its management interface, and configure storage and networking. The guide also covers creating a first virtual machine or container, then securing and backing up the system before you rely on it. By the end, you’ll be able to assess your mini PC, complete a basic installation, and choose a sensible first task for your server.
Check whether your mini PC is ready for Proxmox
An older mini PC can run Proxmox VE, but suitable hardware depends on the virtual machines or containers you plan to host. A single test VM needs less capacity than several services running at once, so start with a modest goal for your Proxmox home lab.
Check that the processor supports hardware virtualization, then confirm that the feature is enabled in the firmware settings. Review installed memory, the storage drive’s condition and capacity, and the network connections available. A wired Ethernet port is useful for a server; if you plan to connect multiple devices, check whether the PC has enough ports for your setup. Also make sure its cooling works and that air can move around the case.
For example, an old office mini PC may suit a test VM, while a memory-limited model may struggle with several guests. Before installing, back up files you want to keep: installation may erase the selected drive. Add services gradually after the test VM runs reliably.
Gather the installer and prepare the mini PC
Before you install Proxmox VE, gather a separate computer with internet access, a USB drive for the installer, and a reliable network connection for setup. You may also need a keyboard and display to change the mini PC’s firmware settings. If it has no convenient video output or you can manage its firmware remotely, check its setup options before starting.
Download the Proxmox VE installer image from the project’s official distribution source. Use an image-writing utility on the separate computer to write that file to the USB drive; copying the file onto the drive is not enough. For example, select the downloaded image and the intended USB drive in the utility, then start the write process.
Open the mini PC’s firmware settings and check that it can boot from USB and has hardware virtualization enabled. Before installing, identify the intended destination drive. Disconnect drives with files you need to keep, or otherwise protect them: choosing the wrong target can erase their data.
Install Proxmox VE on the mini PC
Connect the USB installer, power on the mini PC, and choose the USB drive as the boot device. In the Proxmox installer, select the target drive, then confirm the choice only after checking it carefully. The installer may erase the drive’s contents, so copy any files you need elsewhere first. For example, selecting the mini PC’s internal SSD can wipe its existing operating system and files.
Follow the prompts to set your location, time zone, and keyboard layout. Create the administrator password and enter an email address if requested. Then configure the server’s network identity, including its hostname and network settings. Use details that make sense for your home network; for example, choose a hostname you can recognize later.
Write down the server’s address, username, and password, and store them somewhere secure. Wait for installation to finish, then let the mini PC restart. The installation succeeds when the system boots into Proxmox VE rather than returning to the installer.
Reach the Proxmox management interface
After installation, find the mini PC’s IP address on the installer screen or in your home router’s list of connected devices. From another computer on the same local network, enter that address in a browser using Proxmox’s web interface format: https://IP-address:8006. Replace IP-address with the number shown for your server. Your browser may warn that the connection is not private because the interface uses a self-signed certificate; confirm you want to continue if you are sure you entered the correct local address.
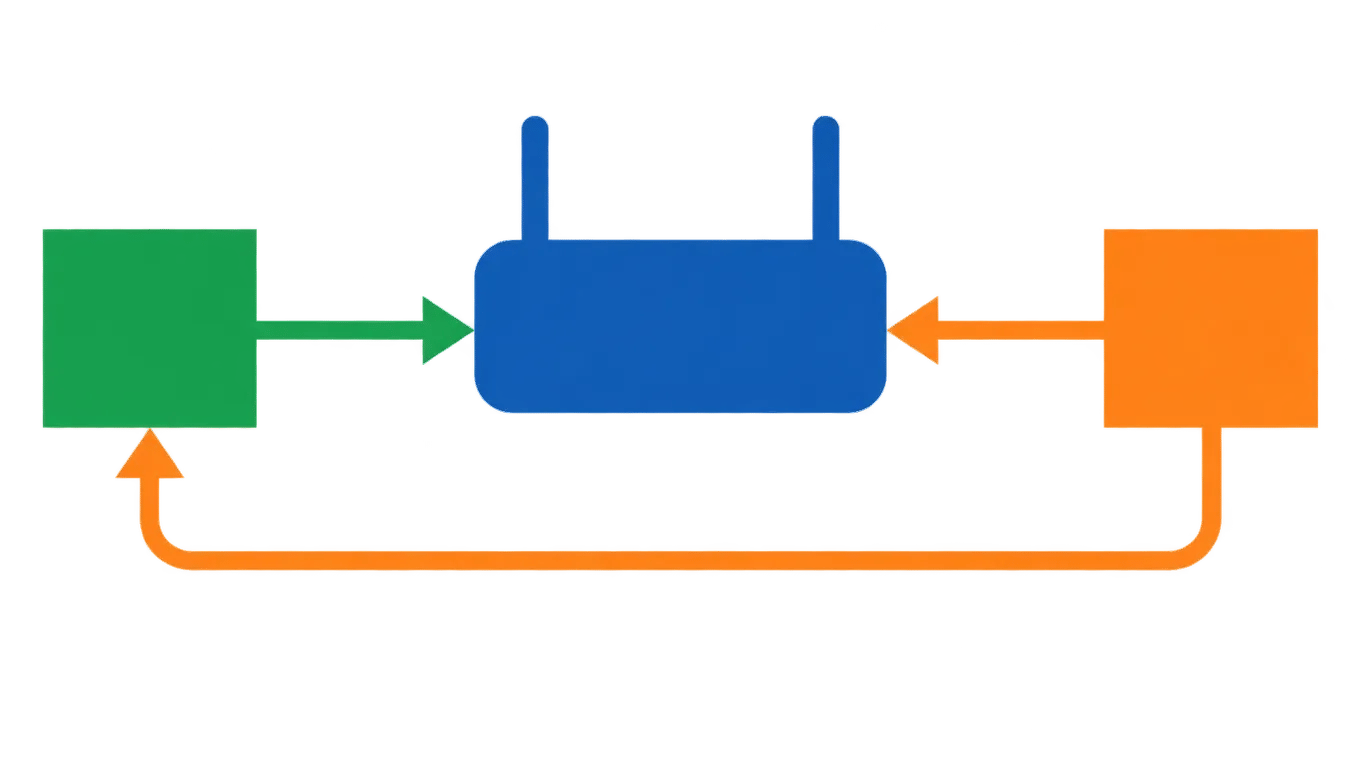
Sign in with the credentials you set during installation, including the selected authentication realm. The browser interface is the control panel for the Proxmox host and its virtual machines or containers. It is not itself a virtual machine.
Once signed in, check that the host appears in the left-hand panel and is marked online. For example, if the host name you chose appears there and you can open its status view, the server is reachable. Setup is successful when you can manage it from another device on your local network.
Set up storage and a stable network
The drive used to install Proxmox VE is separate from the storage you assign to virtual machines or containers. Before creating workloads, check how much capacity is available and decide where their virtual disks and backups will live. In the Proxmox interface, review the storage options your system shows; available choices depend on the mini PC’s hardware and how you plan to use it.
For example, a small internal drive might hold the host installation, while a second drive or network location stores virtual disks and backups. Include room for both your workloads and home server storage and backups, rather than filling the system drive without a plan.
Use Ethernet when practical. A wired connection is generally more reliable for a server that should stay reachable, though Wi-Fi may be the only option on some setups. Keep the server’s network address easy to find, such as in your router’s device list or a household network note. Check which network and storage options your hardware supports before settling on a layout.
Create your first virtual machine or container
Choose a virtual machine when the workload needs its own guest operating system. A container shares Proxmox’s host kernel, so it uses fewer resources but works only with compatible operating systems and software. For example, use a VM to test a different Linux distribution; a container can suit a lightweight service that supports the host’s environment.
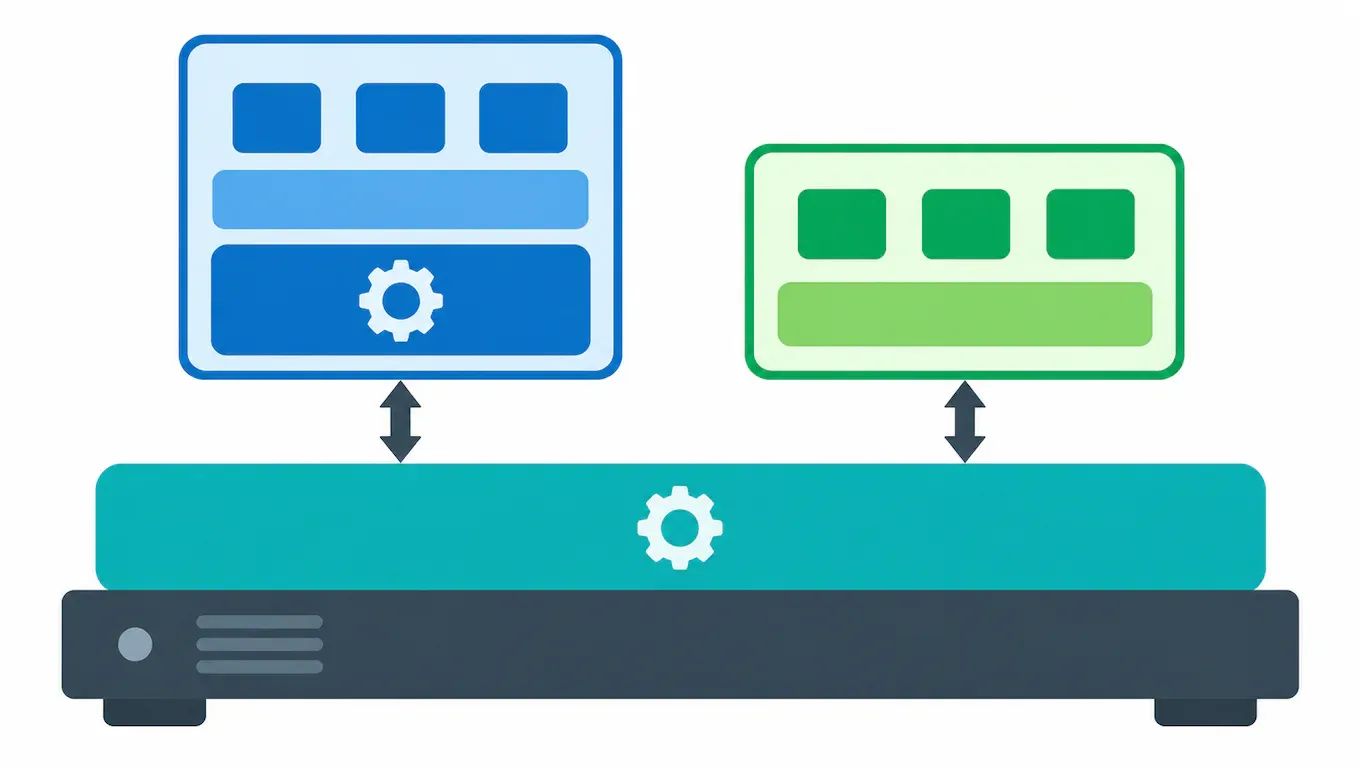
In the Proxmox interface, choose a VM installation image or a container template, then create the workload. Assign CPU cores, memory, and storage conservatively, leaving resources for Proxmox and other tasks. Connect it to the network and confirm its network settings so other devices can reach it.
Start with one modest test workload, such as a basic Linux VM or a small service in a container. Check that it starts and is reachable for its intended use, then observe how the mini PC handles it before adding more. Success means the workload runs and devices or users can access it as planned.
Secure, update, and back up the home server
Use a strong, unique password for each account with access to the Proxmox host, and limit management access to a trusted network. Do not expose the management interface directly to the public internet. If you need remote access, use a safer private access method rather than opening the interface to everyone.
Treat updates as planned maintenance, especially if your household or a small team depends on the server. Check update notices and compatibility before applying changes, and choose a time when a brief interruption is acceptable. For example, avoid updating just before someone needs a virtual machine for work.
Back up important virtual machine and container data to a separate device or location, not just another folder on the mini PC. A failure could take out both the server and any backup stored only on it. Decide what data you need to recover and how often it changes, then set a schedule that fits.
Test the plan by restoring needed files or a guest to a safe location. A completed backup job does not prove you can recover the data.
Troubleshoot setup problems and choose the next task
When setup fails, start with the symptom and check one thing at a time. If the installer will not boot, note the exact message, check the installation media, and confirm the mini PC’s boot settings. If the management interface is unreachable, check the Ethernet cable and the server’s network address. For example, a changed address can make a working server seem offline.
If storage is missing, check whether Proxmox detects the drive and whether space is available. If a virtual machine or container will not start, review its error message and resource allocation before changing settings. Avoid changing several options at once; otherwise, it becomes harder to identify what fixed or worsened the problem.
Before exposing a service to the internet or changing router rules, understand who could reach it and what security risks that creates. Once your first workload works, confirm you can reach it, secure access, and record the server’s address and backup location. That gives you a clear reference when you return to troubleshoot or add another task.
Put your Proxmox mini PC server to work safely
Start by checking the mini PC’s virtualization support, memory, storage, network connection, and cooling, then choose one modest workload to test. Before installing, back up anything you need and confirm which drive the installer will use; selecting the wrong target can erase important files. Once Proxmox is installed, make sure you can reach its management interface from another computer, start your test virtual machine or container, and confirm it works for its intended use. Keep management access limited to trusted networks, and plan separate backups before relying on the server. You’ll know the setup is working when the host is reachable, the first workload runs as expected, and you can find the server’s address and login details. Add more services only after that foundation is secure and stable.
Frequently asked questions
Can I manage a Proxmox mini PC without a monitor and keyboard?
Yes. After installation, you can manage the host through its web interface from another computer on the same network. You may still need a monitor and keyboard to change firmware settings or troubleshoot a boot problem, unless the mini PC supports remote firmware management. Keep a way to connect them available during setup.
How much memory does a mini PC need for Proxmox?
There is no single amount that suits every setup. Proxmox uses some memory for the host, and each VM or container needs memory for its own workload. Start with one small workload, check how much memory the host and guest use, and add workloads gradually. If memory is tight, reduce the workload or consider an upgrade.
Should I give my Proxmox server a fixed IP address?
A stable address makes it easier to reconnect to the management interface after a restart. You can reserve an address for the mini PC through your router or configure the network another way, but check your network settings first to avoid an address conflict. If you change the server’s address, update the address you use to reach it.
Can I use a Proxmox mini PC to host services for people outside my home?
You can run services for remote users, but exposing a home server to the internet adds security and maintenance risks. Do not expose the Proxmox management interface directly. Restrict access to each service, keep software updated, and use a trusted private-access method where appropriate. Get qualified help if you are unsure how to secure the network.


