
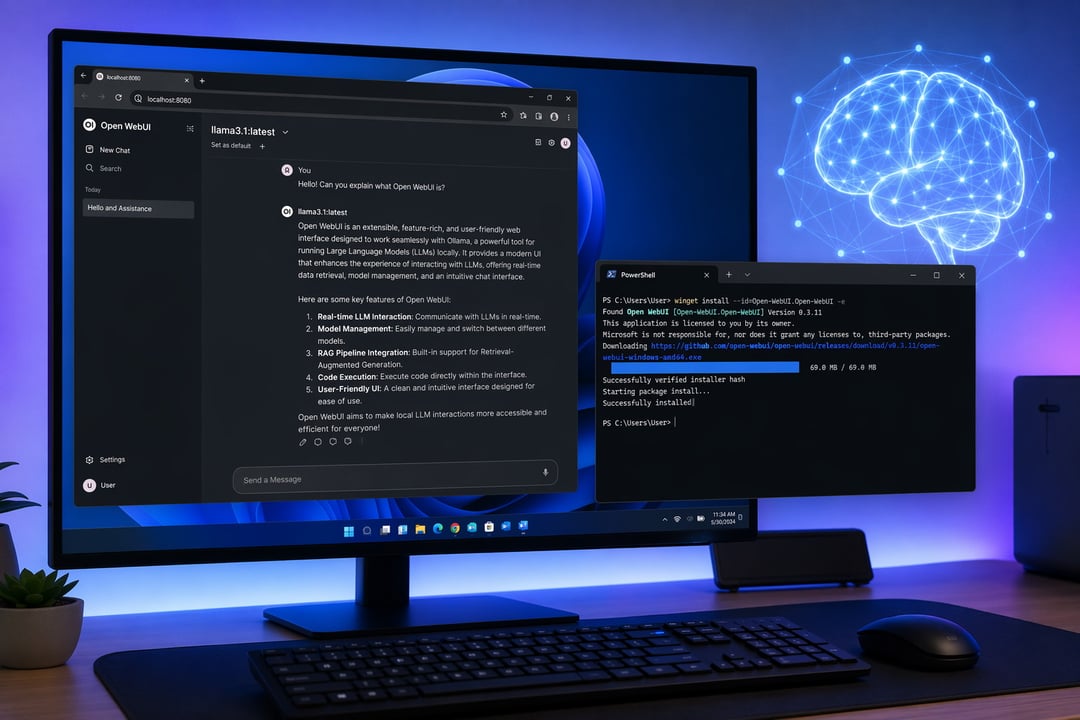
You want a private, ChatGPT-style interface for the models running on your own machine. So you start searching. Every guide opens with the same instruction: first, install Docker Desktop. Then come WSL2, virtualization settings, and a background service claiming several gigabytes of RAM before you have typed a single prompt.
There is a shorter path. Open WebUI is a Python application at heart. Windows can run it directly.
Why Install Open WebUI Without Docker
The lighter footprint is the obvious win. No WSL2 backend, no Hyper-V, no daemon idling between sessions.
The subtler win is networking. The most common Open WebUI complaint by a wide margin is the interface showing Ollama as disconnected. That failure almost always traces back to container-to-host networking rather than anything broken in either application. A native install talks straight to localhost:11434 so the usual host.docker.internal workarounds never enter the picture.
File paths get simpler too. Your chat database sits in a folder you chose instead of a volume you have to inspect through Docker.
One honest caveat. Docker remains the officially recommended route for production and multi-user deployments. If that describes your situation, the Open WebUI Docker Desktop setup guide walks through it properly.
What You Need Before You Start
- Windows 10 or 11 with PowerShell
- Python 3.11 — the version Open WebUI is tested against most heavily. Python 3.12 runs fine for most people but has produced rare, hard-to-reproduce oddities, so 3.11 is the safe target
- Ollama running locally, or any OpenAI-compatible API endpoint
- 2 to 3 GB of free disk space for dependencies
Check what you already have with python --version.
Method 1: Install Open WebUI on Windows with uv
This is the fastest Docker-free route. The uv runtime manager handles Python versions for you, which eliminates the single biggest source of installation failures on Windows.
Install uv from PowerShell:
powershell -c "irm https://astral.sh/uv/install.ps1 | iex"
Close that terminal window and open a fresh one. Skipping this step is why so many people hit the error uvx is not recognized — the PATH variable has not refreshed yet.
Now set a data directory and launch:
$env:DATA_DIR="C:\open-webui\data"; uvx --python 3.11 open-webui@latest serve
Do not skip DATA_DIR. Without it, uvx may write your chat history to a temporary folder that gets cleared when the process ends. With it, everything lands in a webui.db file inside the folder you named.
Windows Defender will request network permission on port 8080. Allow it.
Open http://localhost:8080, click Get Started, and create your admin account. That account is entirely local. Nothing registers with a cloud service and no conversation leaves your machine.
The first launch downloads dependencies and can take several minutes. It is not frozen.
Method 2: Install Open WebUI with pip
Prefer an environment you can inspect and pin? Use a virtual environment instead.
py -3.11 -m venv open-webui-env
.\open-webui-env\Scripts\activate
pip install open-webui
open-webui serve
Same destination: http://localhost:8080.
The appeal here is containment. Everything Open WebUI needs lives inside that one folder. Delete the folder and the installation is gone. Your system Python stays untouched.
Choose pip over uv when you want pinned dependency versions, repeatable offline reinstalls, or a machine where Python 3.11 is already the default interpreter. The package details are published on PyPI.
The No-Terminal Option
Not comfortable in PowerShell? Open WebUI ships a native desktop build that installs like any ordinary Windows program. No Docker, no command line. You trade some configuration control for the convenience, which is a reasonable deal for casual use.
Connecting Open WebUI to Ollama
Confirm Ollama is actually running:
curl http://localhost:11434/api/tags
That should return a list of installed models. Empty list? Pull one with ollama pull llama3.2.
Refresh Open WebUI and select the model from the dropdown at the top of the chat window. No extra network configuration is needed here, which is precisely the advantage of installing natively.
Keeping It Running and Up to Date
Stop the server with Ctrl+C in the terminal window.
To update a pip installation, run pip install -U open-webui and restart. The uv command pulls the current release automatically because of the @latest tag.
For autostart, save your launch command as a .bat file and point Task Scheduler at it to run on logon.
Back up webui.db from your data directory before any major update. That one file holds every conversation you have had.
To remove the app, run uv tool uninstall open-webui or simply delete the virtual environment folder.
Common Errors and Quick Fixes
uvx is not recognized— close and reopen the terminal so PATH refreshes- Port 8080 already in use — run
open-webui serve --port 8081 - A
Requires-Pythonerror during install — wrong interpreter, force 3.11 - No models listed in the dropdown — Ollama is not running
- First launch appears stuck — dependencies are still downloading
The Takeaway
Docker is a convenience layer, not a requirement. On a single-user Windows machine that layer usually costs more than it returns: memory, startup time, and one more networking hop between you and a model sitting on your own hard drive.
One command, one browser tab, models running locally. Full configuration details live in the official Open WebUI documentation when you are ready to go deeper.