
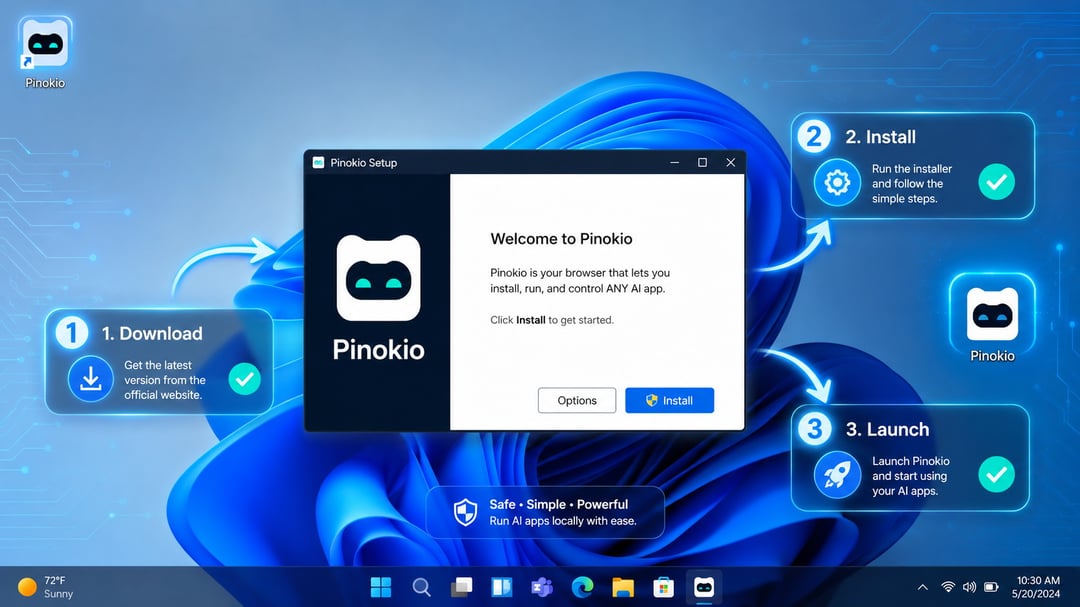
Most people who get curious about AI tools hit the same wall. You find an interesting open-source project, then you're staring at Python environments, Git commands, and a terminal that assumes you already know what you're doing. Pinokio removes that wall. It's a one-click launcher that installs and runs AI apps for you, and this guide walks you through how to install Pinokio on Windows 11 from download to first launch. The whole process takes about five minutes. The only step that trips people up is a Windows security prompt, so we'll cover that clearly.
What Is Pinokio, and Why Install It on Windows 11?
Pinokio is a local AI browser and one-click launcher for open-source AI applications. Instead of typing commands, you click an icon and Pinokio handles the setup behind the scenes. Everything runs on your own machine inside an isolated home folder, so your models and files stay private and local.
That isolation matters for Windows 11 users. Each app installs into its own sandboxed environment, which keeps dependencies from clashing with the rest of your system. Pinokio also includes a Discover page filled with verified, community-reviewed scripts, so you can install AI tools without hunting across a dozen repositories. For anyone who wants the power of local AI without the command line, installing Pinokio on Windows 11 is the simplest starting point.
Before You Install Pinokio: Requirements and Prep
A quick check now saves headaches later. Run through this short list before you download anything:
- Disk space. AI apps, models, and components add up fast and can reach around 100GB combined. Free up at least 50GB for a comfortable start.
- Drive format. Pinokio's home directory must sit on an NTFS drive. Avoid exFAT drives, which the app specifically warns against.
- Folder path rules. The home directory path cannot contain spaces, special characters, or non-Unicode letters. Underscores, dashes, and numbers are fine.
- Windows 11, 64-bit, with admin rights to run the installer.
Have those ready and the rest goes smoothly.
How to Install Pinokio on Windows 11 (Step-by-Step)
Follow these steps in order and you'll have Pinokio running in minutes.
- Download the installer. Head to the official site at pinokio.co and download the 64-bit Windows build. Stick to the official source to avoid tampered files.
- Unzip the download. The file arrives as a compressed archive. Extract it to reveal the
.exeinstaller inside. - Run the installer. Double-click the
.exefile to begin setup. - Clear the Windows security warning. Windows 11 may show a "Windows protected your PC" message. This appears because the app was downloaded from the web, not because anything is wrong. Click More info, then choose Run anyway to continue.
- Finish and launch. Complete the installation and open Pinokio for the first time.
That's the core of it. The SmartScreen prompt in step four is normal for any app downloaded from the internet, so there's no need to worry when it appears.
Alternative: Install Pinokio via WinGet
Comfortable with a terminal? You can skip the manual download entirely. Open PowerShell or Command Prompt and run:
winget install pinokiocomputer.pinokio
WinGet handles the download and installation in one command. This route works well for scripted setups or quick reinstalls, though the standard installer remains the easiest path for most people.
First Launch: Home Directory and Your First App
When Pinokio opens for the first time, confirm your home directory. Click the gear icon in the top-right corner to reach Settings, where you can keep the default location or point it to a larger NTFS drive. Remember the path rules from earlier: no spaces and no special characters.
If you change the location, Pinokio moves your existing files to the new folder. Let that process finish completely. Don't close the app or shut down your computer mid-transfer, or Pinokio may fail to start next time.
Now for the payoff. Open the Discover page, choose an app that interests you, and click Download. Once it finishes, the app appears on your main page, ready to run. You now have a working AI launcher instead of a terminal to fight.
Troubleshooting Common Pinokio Install Issues
A few snags come up often, and each has a quick fix:
- Installer blocked by SmartScreen. Use the More info → Run anyway path described above.
- Can't change the home directory. Confirm the target drive is NTFS and the path avoids spaces or special characters.
- Not enough disk space. Clear room or move the home directory to a larger drive.
For less common problems, the community-maintained Pinokio Wiki is a solid reference.
Frequently Asked Questions
Is Pinokio free?
Yes. Pinokio is free to download and use.
Does Pinokio work on Windows 10 or only Windows 11?
It supports both, though this guide focuses on Windows 11.
Where does Pinokio install apps?
By default, into an isolated home folder on your machine, which you can relocate in Settings.
How do I uninstall Pinokio?
Remove it through Windows Settings like any other app, then delete its home folder to reclaim disk space.
With Pinokio installed, your next move is simple: open the Discover page and pick your first AI app to launch.


