
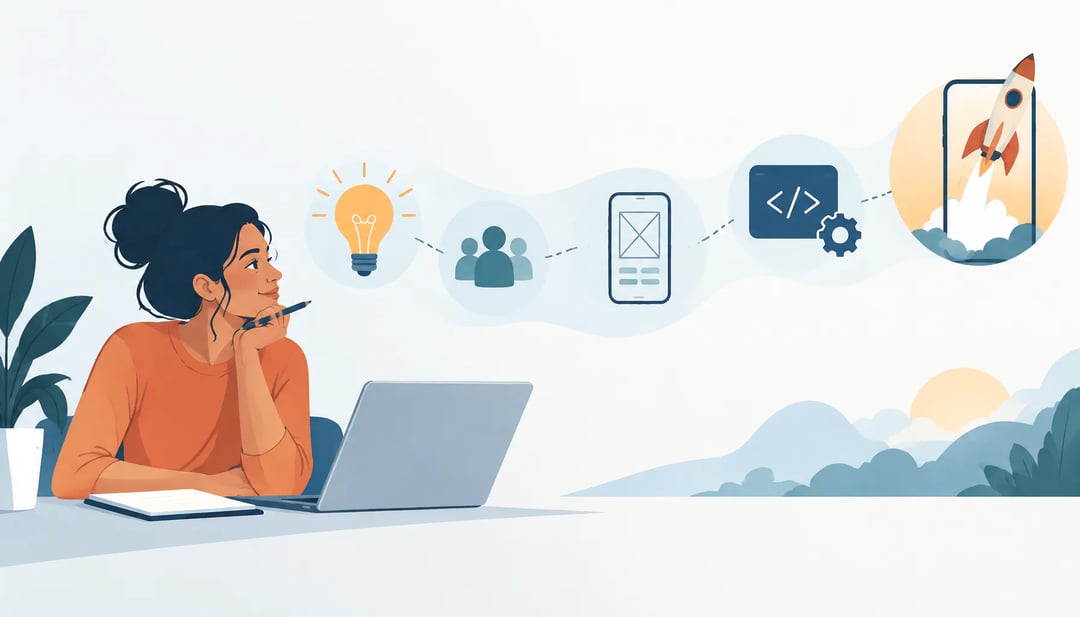
You have an app idea, but turning it into something people will use takes more than choosing a framework and writing code. Before you decide how to make an app, you need to know who it serves, what problem it solves, and whether anyone wants it badly enough to try an early version.
A sensible process can keep you from spending months building features users do not need. Start by testing the idea, then shape a minimum viable product, choose a platform and development approach, and plan the work. From there, you can design, build, test, prepare for store submission, and decide what to improve after launch. By the end, you’ll have a clear path from an untested idea to a first release and a plan for what comes next.
Define the app idea, audience, and problem
Describe the problem your app solves
Start with the problem, not a feature list. "An app for meal planning" is a broad concept. A sharper statement might be: "People who cook after work need a faster way to plan dinners around ingredients they already have." It names a user need and gives you something to test.
Write down the app's core action, the outcome a user expects, and why they might return. For that example, the core action could be entering available ingredients; the outcome is a dinner idea that fits them. Users may return when they need to plan another meal. These details describe a useful product concept. "Add recipes, save favorites, share meals" is only a list of features until each one supports the user's need.
Identify the target user
Choose a primary audience with a shared problem. "Anyone who cooks" is too broad to guide design. You might focus on people who cook on weeknights and want to use what is already in the fridge. That choice helps you decide which situations the first version should handle and which can wait.
Keep the audience specific enough to evaluate the idea, but avoid defining it by assumptions you have not checked. Talk to people who fit the description and ask how they handle the problem now. Their current workarounds can reveal whether the need is real and what the app must do first.
Validate the idea before development
Research competing apps
Search app stores and the web for products that address the same problem, including indirect alternatives such as spreadsheets or manual workarounds. Note who each app seems designed for, what users praise, and where reviews describe friction. Look for gaps: perhaps an app handles one part of a task well but leaves users to finish the rest elsewhere. Those gaps can help sharpen your concept, but they do not prove people will adopt another app.
For example, if you are considering a meal-planning app, compare how existing options handle creating a plan, building a shopping list, and adapting meals to a user’s needs. Pay attention to the audience each product serves rather than assuming every user wants the same features.
Test demand with potential users
Talk to people who experience the problem. Ask how often it comes up, what they do now, and what makes the current approach frustrating. Avoid asking only whether they like your idea; people may be encouraging without intending to use it. A short survey can help you compare answers across a wider group, while a simple landing page can test whether the proposed benefit prompts people to sign up or request more information.
Decide what you will do with the findings before building. If the problem is rare or low priority, change the audience or refine the concept. If users already solve it well another way, consider stopping. Validate enough to make that call before committing heavily to development.
Plan the minimum viable product
An MVP is the smallest usable version of an app that can test its central value proposition. It should let someone complete the main task and give you a way to learn whether the app solves a real problem. It is not a mockup, and it does not need every feature you hope to add eventually.
Separate essential and later features
For each proposed feature, ask two questions: does it help users complete the primary task, and does it help test the business objective? Keep features that support both in the first release. Move the rest to a later list.
For a meal-planning app, account creation, choosing meals, and viewing a shopping list may be essential if the idea is to help users plan their grocery trips. Social sharing or recipe ratings might be useful later, but they do little to test whether the core planning process works. Adding them now increases design and development work without answering the main question.
Map the main user journey
Write the shortest flow from opening the app to completing the desired action. For that meal-planning app, a user might open it, select meals, review the generated list, then save or use the list. Each screen should help move the user to the next step. If a feature interrupts that path, ask whether it is necessary to validate the idea. A focused first release makes user behavior easier to interpret and keeps scope tied to the question the app is meant to answer.
Choose the platform and development approach
Compare native and cross-platform development
Native apps use separate iOS and Android codebases. They can make it easier to use device features and tune performance, which may matter for demanding graphics, background processing, or hardware integration. The tradeoff is more platform-specific work to build and maintain.
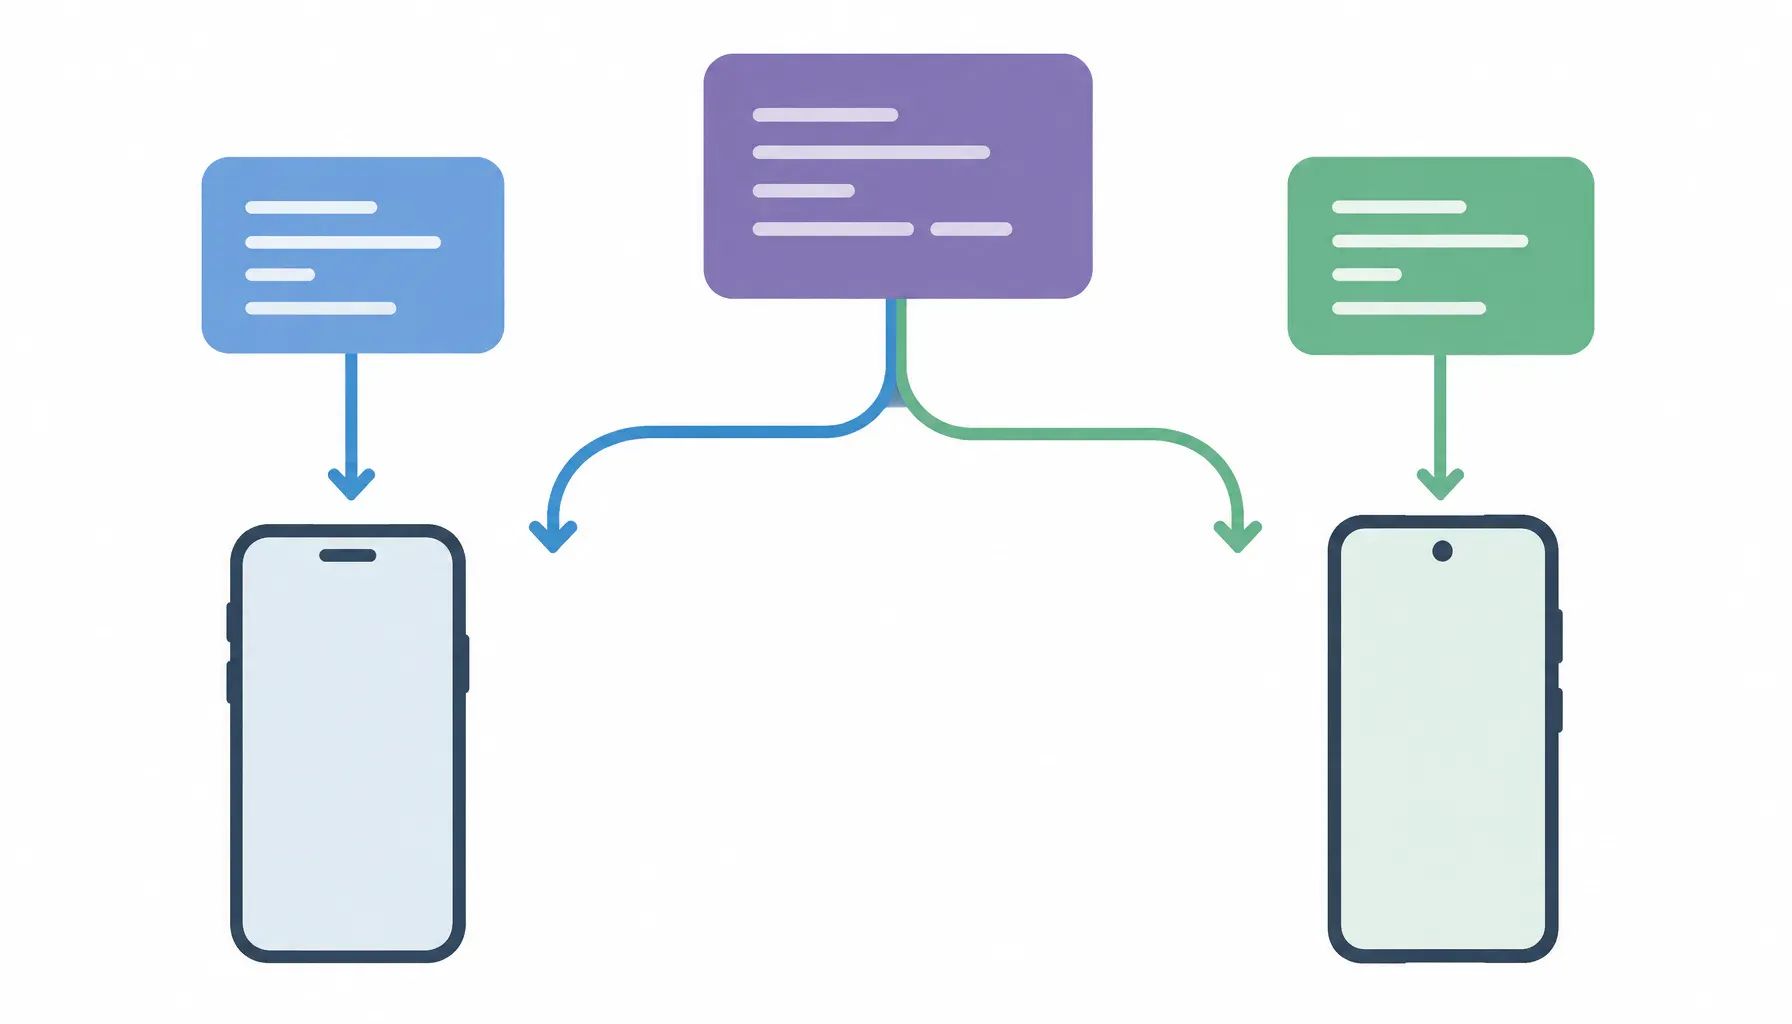
Cross-platform apps share more code across iOS and Android, which can reduce duplicated effort and help small teams reach both audiences sooner. Some platform-specific work may still be needed, and performance or device access depends on the app and its implementation. Neither approach is best for every product.
Decide where to launch first
Choose based on your first users, their devices, and your available time and budget. Start with iOS if your audience mainly uses iPhones, or Android if those users are central. If both groups matter from day one, compare the cost and schedule of supporting both with a cross-platform approach.
Consider whether the app needs a camera, location services, or background tasks. If a mobile app is not essential for the first release, a web app may be a simpler way to gather early feedback.
Select tools and create the product plan
Choose a framework and backend approach
Choose tools around the app you need to maintain, not a feature checklist. Start with the team’s experience, the platforms you plan to support, and whether the framework’s libraries cover essential functions such as maps, camera access, or offline storage. Check how the app will be tested on real devices and how updates, bug fixes, and platform changes will be handled over time.
For example, a small team with experience in one cross-platform framework may be able to support iOS and Android from a shared codebase. A feature that depends heavily on platform-specific capabilities may call for a different approach. If you are comparing Flutter and React Native, link to Flutter vs React Native: Which Cross-Platform Framework Wins?
Plan design, data, and integrations
Decide how the interface will be designed and where app logic will run. Map out backend services, the database, authentication, payments, and notifications. For each third-party integration, record what data it needs and what happens if the service is unavailable. A sign-in provider, for instance, affects both the login screens and the account data your backend stores.
Before implementation, document requirements, technical dependencies, milestones, and who owns each task. This gives the team a shared plan and makes it easier to spot missing work before it delays development.
Design, build, and test the MVP
Create the core screens
Start with wireframes for the screens users need to complete the app’s main task. For a meal-planning app, that might mean choosing a recipe, adding ingredients to a shopping list, and viewing the list. Map how users move between those screens before settling on visual details.
Turn the wireframes into a clickable prototype. Test whether someone can follow the expected path without explanation. If users cannot find the shopping list or mistake a recipe-selection button for a save button, fix the navigation or labels before development. A prototype is cheaper to change than a finished feature.
Build the MVP in small increments, each centered on a working part of that core journey. For example, first let users select a recipe, then add ingredients to a list. Test each increment before connecting it to the next.
Test the app throughout development
Check that features behave as intended, then watch test users try common tasks. Note where they hesitate, choose the wrong control, or get stuck. Test on the devices and platforms you plan to support, and check that text, controls, and screen-reader labels work for people with accessibility needs. Basic performance checks should catch slow screens and unresponsive controls.
Use that feedback to repair confusing or broken flows before adding features. A smaller app that reliably completes its main task is a better MVP than a larger one with unfinished paths.
Prepare the app for store submission
Complete release requirements
Build and test a stable production version before submitting. Confirm that the app name, core features, and behavior match what reviewers will see; a listing that promises something the build does not deliver can create problems during review.
Apple App Store and Google Play have separate review processes and submission requirements. Check each platform’s current policies, including rules for permissions and privacy disclosures. Request only permissions the app needs, and explain their purpose in context. For example, if a feature needs location access, tell users why before the permission prompt appears.
Set up the developer accounts and other required account details early. Prepare support contact information and a clear way to respond if a reviewer flags an issue or rejects the submission. Keep time available to investigate the feedback, make a correction, and submit again.
Create store listing materials
Prepare the app name, a concise description, screenshots, and an icon. Make sure screenshots show the actual interface and support the claims in the description. Check that privacy information is complete and consistent across the app and store listing. Missing or conflicting details can slow review and leave users unsure about how their information is handled.
Launch, measure results, and plan the next release
Monitor the first release
Treat launch as a controlled release, not the finish line. Confirm the production build, publish clear availability information, and tell early users what the app does and where to report problems. Then watch crash reports, failed sign-ups, support requests, and points where users abandon the main flow. A spike in sign-ups means little if people cannot complete account creation or reach the app's primary feature.
Choose a small set of metrics linked to the app's main goal. For a budgeting app, that might include completed account setup, budgets created, and returning use of the budgeting feature. Tracking every tap and screen view can produce noise without explaining whether the product is helping users.
Prioritize post-launch improvements
Combine what users tell you with what they do. If users report confusing onboarding and many abandon the same step, fix that flow before adding a new feature. Rank work by user impact, severity, and the effort required. Address crashes, blocked tasks, and misleading interface elements before lower-impact polish. Keep a short release backlog, then reassess it as new feedback and behavior data arrive.
Your next step is practical: write the problem statement, define the MVP's primary user flow, and validate both before choosing a technology stack.
What to settle before you make an app
Making an app starts with a product decision, not a technology decision. First, write a clear problem statement that identifies who has the problem, why it matters, and what your app will help that person do. Then validate the idea with competitor research and conversations, surveys, or a landing-page test before committing to development. If the problem is worth solving, define an MVP around one primary user journey and leave secondary features for later. Only then choose the platform, framework, backend approach, and integrations that fit your audience, capabilities, budget, and timeline. Build and test the core flow in small increments, prepare the required store materials, and use early crashes, drop-off, support requests, and user feedback to guide the next release. Your first action is simple: write the problem statement and map the MVP flow.