
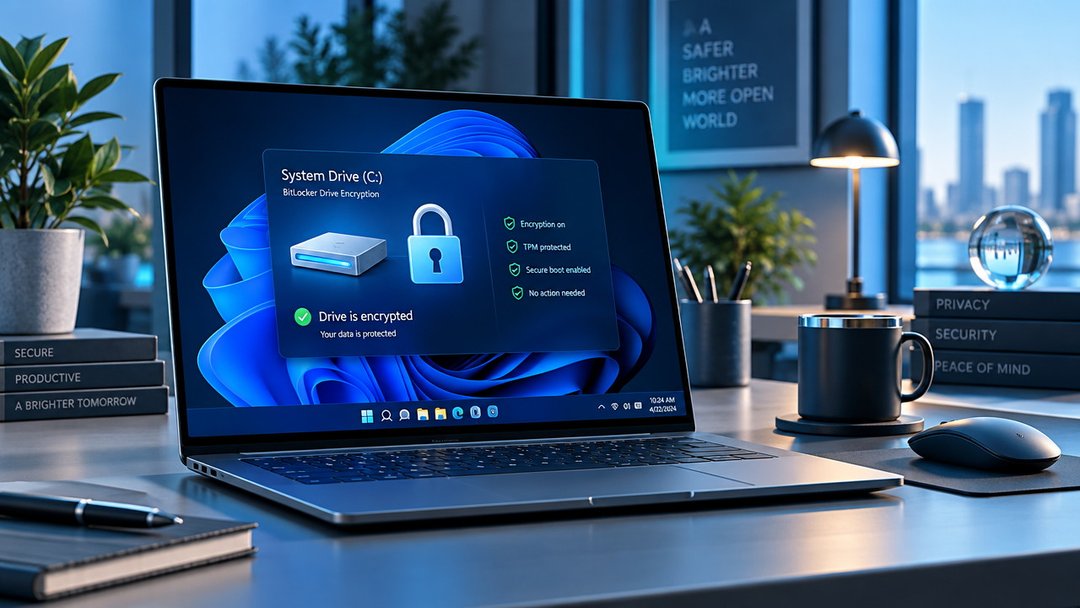
BitLocker is Microsoft's full-disk encryption tool, and if you're running Windows Pro, Enterprise, or Education, you already own it. The catch is that it's disabled by default, and if you've never turned on drive encryption before, the process can feel buried under layers of settings and system requirements you didn't know existed.
This guide walks through how to enable BitLocker on both your system drive and any additional data drives, covers the edition and hardware requirements that determine whether you can use it, and explains how to back up your recovery key so you don't get locked out. If your Windows edition doesn't include BitLocker, we'll also cover the built-in alternative and when a third-party tool makes more sense.
BitLocker system requirements and edition compatibility
BitLocker is available only in Windows Pro, Enterprise, and Education editions. Windows Home does not include it, though some newer Windows 11 Home devices ship with Device Encryption, a simplified alternative that encrypts your system drive automatically when you sign in with a Microsoft account.
Your PC needs a Trusted Platform Module (TPM 1.2 or 2.0) to use BitLocker. Check for one by opening the Windows Security app, selecting Device security, and looking under Security processor details. Most computers made after 2016 include TPM 2.0.
BitLocker also requires UEFI firmware and Secure Boot enabled for full functionality. These settings live in your PC's BIOS menu, typically accessible by pressing F2, Delete, or F12 during startup.
How to enable BitLocker on your Windows system drive
Open Control Panel, navigate to System and Security, then click BitLocker Drive Encryption. Next to your system drive (usually C:), click "Turn on BitLocker." Windows will run a compatibility check, then present unlock options: a password you'll enter at startup, a PIN if you have a TPM chip, or automatic unlock using the TPM alone. Most users choose a password for portability across devices.
The setup wizard asks whether to encrypt used space only or the entire drive. Used space encryption finishes faster and works well for new PCs. Full drive encryption takes longer but prevents recovery of previously deleted files, making it better for drives that already hold data.
After you confirm, encryption starts in the background. Your PC remains fully usable, though you may notice slight performance drops during heavy disk activity. Encryption time depends on drive size and typically ranges from 20 minutes to several hours.
How to enable BitLocker on data drives
Data drives skip the startup authentication step, making encryption faster. Right-click any internal or external drive in File Explorer, select "Turn on BitLocker," then choose how to unlock it. For external drives, use a password so you can access the drive on any Windows PC. Internal drives offer an auto-unlock option that decrypts them automatically whenever your system drive is unlocked, removing the need to enter credentials after boot.
The encryption process runs in the background. You can keep using the drive, though performance dips slightly until it finishes. External drives remain encrypted when disconnected. Plug them into another Windows PC and enter your password to unlock. The drive stays encrypted on non-Windows systems and won't mount without third-party tools.
Backing up and storing your BitLocker recovery key
The recovery key is a 48-digit code that unlocks your encrypted drive if you forget your password, experience boot corruption, or move the drive to different hardware. Windows offers four save options during setup: your Microsoft account, a USB flash drive, a file on another drive, or a printed copy.
Save it to your Microsoft account. The key uploads to Microsoft's servers automatically and you can retrieve it from any device at account.microsoft.com/devices/recoverykey by signing in. If you prefer offline storage, print a copy or save to a USB drive you keep in a secure location.
Never store the recovery key on the encrypted drive itself. If the drive becomes inaccessible, you cannot reach the key to unlock it. Keep at least one backup in a separate location from your computer.
What to do if your PC does not have BitLocker
Windows 11 Home does not include BitLocker, but compatible hardware may support Device Encryption, a simplified version that protects your system drive. To check, open Settings > Privacy & security > Device encryption. If the option appears and shows as off, turn it on. Your recovery key saves to your Microsoft account automatically.
Device Encryption lacks BitLocker's advanced features: you cannot encrypt secondary drives, choose encryption algorithms, or use hardware authentication methods like TPM PINs or USB keys. It works only on systems with modern TPM chips and UEFI firmware.
If Device Encryption is unavailable or insufficient, VeraCrypt offers full-disk encryption across all Windows editions. It supports multiple drives, hidden volumes, and various authentication methods, but requires manual setup and does not integrate with Windows recovery tools the way BitLocker does.
Getting started with BitLocker encryption
If you're on Windows Pro, Enterprise, or Education, BitLocker is already installed and ready to use. The most important step is backing up your recovery key to your Microsoft account or a safe external location—without it, a forgotten password or hardware failure can permanently lock you out of your data. Start with your system drive, then encrypt any data drives that store sensitive files. If you're on Windows Home, check whether Device Encryption is available on your PC before looking at third-party options. The encryption process runs in the background, so you can keep working while it completes.