
Setting up a faceless YouTube channel feels deceptively simple. No camera anxiety. No lights. No “on-screen personality.” And then you record your first voiceover and it sounds like you’re speaking from inside a cereal box.
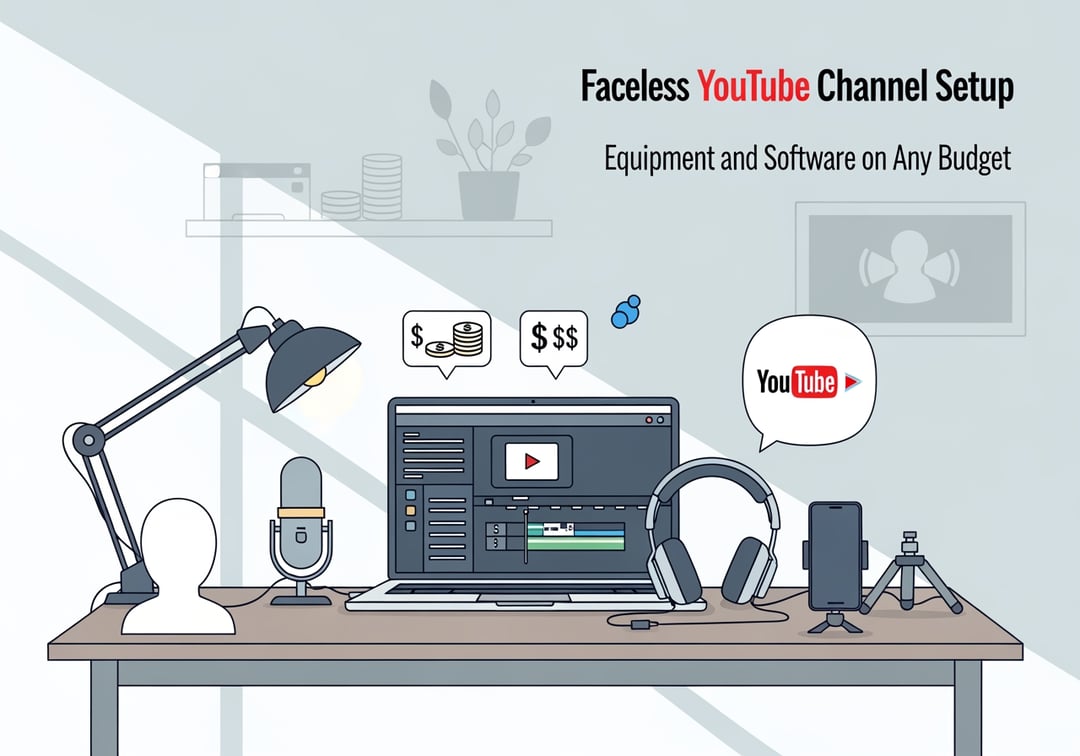
A strong faceless YouTube channel setup fixes that. It gives you clean audio, readable visuals, and an editing workflow you can repeat without burning out. Here’s a practical guide to equipment and software on any budget, with clear upgrade paths and a few traps to avoid.
What “Faceless” Really Means (and Why It Changes Your Priorities)
A faceless channel does not mean low-effort. It means your credibility comes from production choices instead of your face. Viewers judge three things fast:
- Audio clarity: hiss, echo, and uneven volume kill trust.
- Visual legibility: text needs to read on a phone, not just a monitor.
- Editing rhythm: dead space and slow pacing feel amateur instantly.
Consequently, the best faceless workflows invest in audio and repeatability first. Visual polish comes later.
Common faceless YouTube channel formats
- Voiceover + b-roll (business, history, list videos)
- Tutorial screen recordings (software, finance tools, gaming tips)
- Animated explainers (education, science, systems)
- Text-led storytelling with sound design (true crime, Reddit-style commentary)
Pick a format that matches your tolerance for editing. Your channel will live or die on consistency.
Budget-First Planning: Choose Your “Production Lane”
Before you buy anything, decide how you will produce.
Lane 1: Laptop-only
You script, record a voiceover, edit, upload. This lane rewards clean audio and fast editing shortcuts.
Lane 2: Phone-first
You record on mobile, edit on mobile, publish quickly. This lane wins on speed and convenience.
Lane 3: PC creator workflow
You use multi-track audio, templates, motion graphics, and heavier editing. This lane scales best once the channel proves demand.
A helpful rule: spend first on audio, then on editing speed, then on visuals. A sharper mic often beats a “better editor” for early retention.
Faceless YouTube Channel Equipment on Any Budget
Think in tiers. Start where you are. Upgrade when the channel earns it.
$0–$100: The “Start Now” faceless YouTube channel setup
This tier exists for one reason: publishing reps.
- Recording: built-in screen recorder (phone or desktop)
- Audio: wired earbuds with an inline mic or any basic USB mic you already own
- Stability: phone stand, tripod, or a stack of books
- Room control: record in a quiet room with soft surfaces
Here’s the sneaky move: record in a closet or a small bedroom with curtains. You’re not chasing luxury. You’re reducing echo.
$100–$350: The “Serious Starter” setup
This is where your faceless YouTube channel starts sounding “real.”
- USB microphone with a cardioid pattern for speech
- Boom arm + pop filter to reduce desk vibrations and plosives
- Closed-back headphones so you can actually hear hiss and mouth clicks
- Cheap sound control: rug, heavy curtain, blanket behind the mic
Avoid foam squares marketed as “soundproofing.” They usually do not stop noise. They only tame a bit of high-frequency reflection.
$350–$1,000: The “Creator Workflow” setup
This tier focuses on speed and consistency.
- XLR mic + audio interface for cleaner gain and more control
- External SSD for projects and scratch files
- Second monitor for timeline space and faster editing decisions
Furthermore, this is the tier where templates matter more than gear. A reusable intro, caption style, and b-roll rules can cut your editing time in half.
$1,000+: The “Production-Grade” setup
Buy this tier only after the channel proves demand.
- Broadcast-style mic chain
- Dedicated monitoring and color-consistent display
- Redundant backups and cloud sync
Reliability becomes the point. Not sparkle.
Software Stack for a Faceless YouTube Channel (Pick One Workflow)
A tight software stack prevents “tool hopping,” which is where motivation goes to die.
Scriptwriting and planning
Use a repeatable structure: hook, promise, steps, recap. If your scripts feel long, tighten sentences. If your voiceover sounds stiff, read it aloud and rewrite the awkward parts.
Voice: your voice vs AI voice
- Your voice builds trust and sounds less generic.
- AI voice can speed production, but it risks sounding interchangeable.
If you use AI, you still need strong pacing, emphasis, and sound design. Also, make sure you follow YouTube’s policies and your local disclosure norms. Start with YouTube’s official guidance on deceptive practices and spam policies:
https://support.google.com/youtube/topic/2803240
Screen recording and capture
For tutorials, prioritize:
- 1080p minimum
- consistent frame rate
- separate audio tracks if possible
Turn off notifications. Clean your desktop. You are recording your credibility.
Editing software
Your editor must handle:
- multi-track audio
- captions or subtitle workflow
- audio ducking for music
- presets and reusable templates
If your editing takes forever, the fix usually is not “more powerful software.” It is a tighter process.
Asset Libraries: Keep It Legal and Watchable
Faceless channels often lean on stock footage, music, and sound effects. That’s fine. But you need clean licensing habits.
- Use reputable stock libraries with commercial terms.
- Keep a simple “asset log” per video.
- Save license receipts next to project files.
For copyright basics and policy context, YouTube’s Copyright Center stays the most authoritative starting point:
https://www.youtube.com/howyoutubeworks/policies/copyright/
Three Quick Setup Picks (Choose in 60 Seconds)
Voiceover + stock footage
Best for commentary and list formats. Risk: generic visuals. Fix it with consistent text styling and stronger cuts.
Tutorial screen recording
Best for search traffic and clear viewer intent. Advantage: your visuals are naturally unique.
Animated explainer
Best for education. Tradeoff: higher production time. Reward: stronger brand moat.
What to Upgrade First (Highest ROI)
Upgrade in this order:
- Microphone and recording space
- Templates and presets for faster editing
- Captions and on-screen clarity
- Storage and backup
- Motion graphics polish
If you cannot publish weekly yet, stop buying gear. Your bottleneck is process, not equipment.