
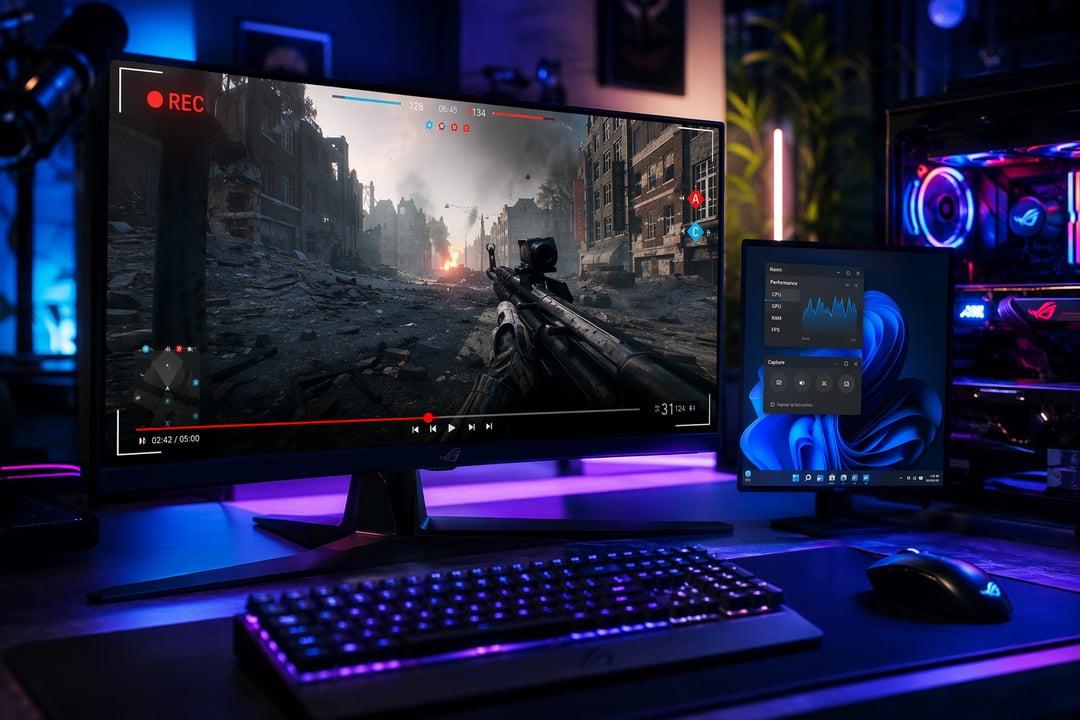
You pull off a perfect comeback. You hit the final shot. Or a game bug sends your character flying into the sky for no good reason.
Then you realize you weren’t recording.
The good news: you don’t need expensive software to capture PC gameplay. Windows includes a built-in recorder, and free tools like OBS Studio give you far more control when you need it. Your graphics card may also include its own recording feature.
Here’s how to record gameplay on Windows for free without turning your PC into a stuttering mess.
What You Need Before Recording PC Gameplay
Most Windows 10 and Windows 11 PCs can record games. Still, recording adds work for your system. Your computer has to run the game, capture the video, process audio, and write a large file to storage at the same time.
Before you start, check three things:
- Storage space: Gameplay footage fills a drive surprisingly fast. A 1080p recording at 60 frames per second can take several gigabytes in under an hour.
- Frame rate: Record at 60 FPS for fast games like shooters, racing games, or fighting games. Choose 30 FPS if your PC struggles or you’re recording slower-paced games.
- Recording quality: Higher quality looks better, but it also creates bigger files and may affect performance.
For most people, 1080p at 60 FPS is a strong starting point. If your game begins to lag, switch to 30 FPS before lowering everything else.
It also helps to make a short test recording first. Check the video, game sound, and microphone audio. Finding out your whole session had no sound is one of those problems that feels much worse after two hours of gameplay.
How to Record Gameplay on Windows for Free With Xbox Game Bar
For quick clips, Xbox Game Bar is the simplest free gameplay recorder for Windows. It comes built into Windows 10 and Windows 11, so you can start without downloading anything.
Open your game, then press:
Windows key + G
This opens the Xbox Game Bar overlay. From there, open the Capture widget and click the record button.
You can skip the overlay entirely with this shortcut:
Windows key + Alt + R
That starts and stops recording immediately.
Your finished clips usually appear in:
This PC > Videos > Captures
Save the Last Few Minutes of Gameplay
Xbox Game Bar also has a useful “record what happened” feature. When background recording is enabled, Windows quietly keeps a short rolling buffer of recent gameplay.
Press:
Windows key + Alt + G
Windows will save the previous moments of gameplay. It’s perfect for a surprise win, a ridiculous fail, or an unexpected moment worth sending to friends.
To adjust this feature, go to:
Settings > Gaming > Captures
There, you can change recording quality, clip length, audio settings, frame rate, and the save location.
Xbox Game Bar works well for most games. But it has limits. It may not record the Windows desktop, File Explorer, or some apps. If you need to capture everything on your screen, OBS Studio is the better choice.
Record Games on Windows 11 With OBS Studio
OBS Studio is one of the most popular free tools for recording gameplay. It’s open-source, reliable, and flexible enough for YouTube videos, walkthroughs, streams, and longer sessions.
At first glance, OBS can look intimidating. There are panels, scenes, sources, audio meters, and settings menus everywhere. But basic game recording is straightforward.
Set Up OBS Studio for Gameplay Recording
After installing OBS Studio, open it and run the Auto-Configuration Wizard. Choose the option to optimize OBS for recording rather than streaming.
Then follow these steps:
- In the Sources box, click the + button.
- Choose Game Capture.
- Select Capture specific window.
- Pick your game from the list.
- Make sure the audio meters move when game sound plays.
- Click Start Recording.
Use Game Capture whenever possible. It captures the game directly instead of recording your entire monitor. That means fewer distractions in the footage and often better performance.
If Game Capture shows a black screen, try running OBS as an administrator. You can also test Window Capture or Display Capture, though these options may use more resources.
Choose the Right OBS Recording Settings
OBS lets you fine-tune nearly everything. That’s useful, but you don’t need to touch every setting.
Start with these practical choices:
- Resolution: 1920 × 1080
- Frame rate: 60 FPS for action games, 30 FPS for slower games
- Encoder: Use your graphics card’s hardware encoder when available
- Recording format: MKV is safer for long recordings
Hardware encoders may appear as NVIDIA NVENC, AMD H.264/AVC, or Intel Quick Sync Video. They use dedicated hardware on your graphics card or processor, which usually leaves more resources available for the game.
MKV deserves a mention because it can save a recording if OBS crashes or your PC loses power. MP4 files can become unusable after an interrupted recording. OBS can convert MKV files to MP4 afterward through File > Remux Recordings.
Use Your Graphics Card to Capture Gameplay
Your GPU may already include free recording tools. These options are especially useful if you want instant replay clips without setting up OBS before every game.
NVIDIA Instant Replay
If you have a compatible NVIDIA graphics card, the NVIDIA App overlay can record gameplay and save recent highlights through Instant Replay. Turn it on before playing, then use a shortcut to save the previous few minutes.
This is one of the easiest ways to capture unexpected moments without recording every second of a long session.
AMD Record and Stream
AMD users can use the recording tools built into AMD Software: Adrenalin Edition. The Record & Stream section includes recording, instant replay, screenshots, and microphone controls.
These GPU tools usually have a smaller performance impact than software-based recording. Still, overlays sometimes clash with games or other apps. If recording fails, close extra overlays from Discord, Steam, or Xbox Game Bar and try again.
Fix Common Gameplay Recording Problems
A few quick adjustments solve most recording issues:
- Black screen: Run OBS as administrator or switch from Game Capture to Window Capture.
- No game audio: Check your Windows output device and watch the audio meters before recording.
- Choppy footage: Lower the frame rate to 30 FPS, reduce the bitrate, or use hardware encoding.
- Huge video files: Record shorter clips, lower the bitrate, or use 30 FPS.
- Bad microphone sound: Test your levels first and keep the mic closer to your mouth than to your keyboard.
The Best Free Way to Record Gameplay on Windows
Use Xbox Game Bar when you want a quick clip with almost no setup. Use OBS Studio when you need better quality, full-screen capture, separate audio control, or longer recordings. And use NVIDIA or AMD replay features when you mainly want to save highlights after they happen.
Pick one tool, record a 30-second test clip, and check it before your next session. That small habit saves a lot of missed moments.