
Moving a data center without bringing your business to a screeching halt sounds impossible, right? Like trying to change the tires on a moving car. But here's the reality: organizations successfully execute zero-downtime migrations every day, and with the right project plan, you can too.
The stakes couldn't be higher. Research from the Ponemon Institute shows that every minute of downtime costs businesses an average of $5,600. That's real money evaporating while customers abandon shopping carts, partners question your reliability, and your leadership team develops a collective eye twitch. But whether you're escaping aging infrastructure, chasing cloud economics, or simply running out of physical space, a well-executed migration plan keeps your systems humming while you orchestrate the digital equivalent of open-heart surgery.
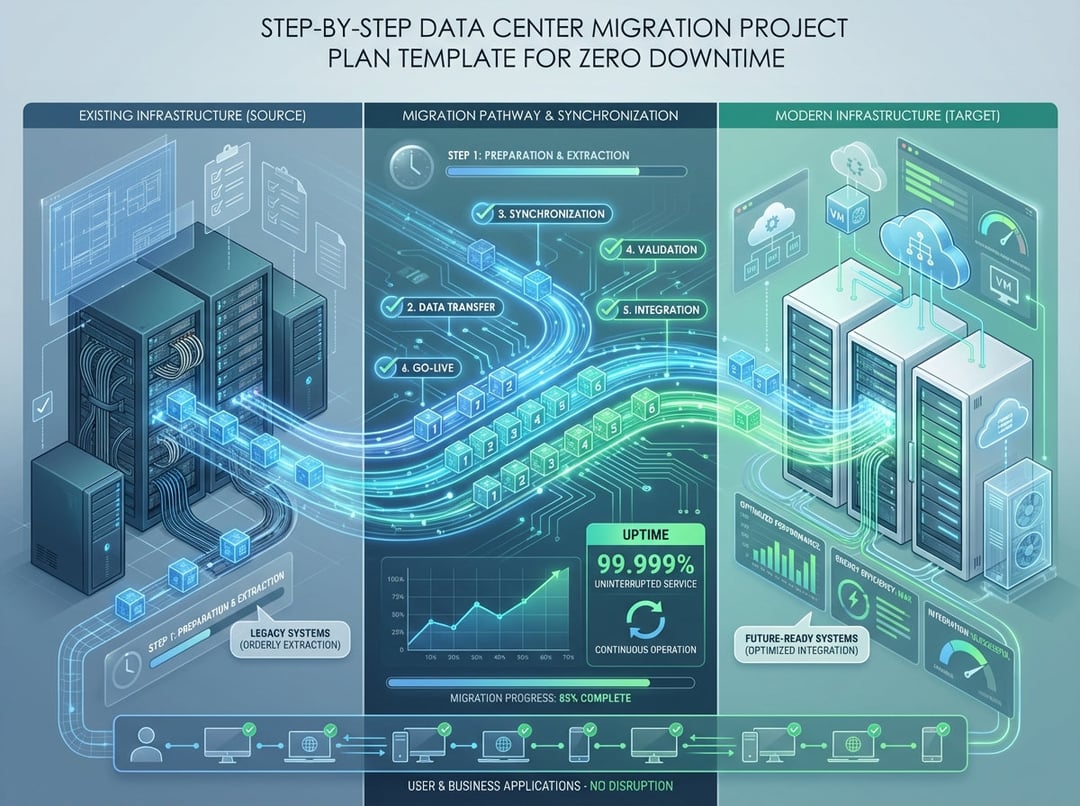
Let's walk through a proven, step-by-step project plan that ensures your migration succeeds without missing a beat.
Phase 1: Discovery and Assessment (Weeks 1-4)
Step 1: Assemble Your Migration Dream Team
Your first move? Build a cross-functional team with representatives from infrastructure, networking, applications, security, and business units. Appoint a dedicated project manager whose sole focus is this migration—someone who'll live and breathe timelines, dependencies, and cutover scenarios.
This isn't a one-person show. Think of your team as the Avengers of infrastructure transformation, each member bringing specialized skills to combat your common enemy: system downtime.
Step 2: Conduct a Complete Infrastructure Inventory
You can't migrate what you don't know exists. Document every server, application, database, storage system, and network device in your current environment. More importantly, map the complex web of dependencies connecting them.
Use automated discovery tools to identify hidden connections—those "mystery cables" that someone installed three years ago and nobody remembers why. Tools like Faddom or similar application dependency mapping solutions can automatically reveal these relationships, saving you from painful surprises during cutover.
Your inventory should include:
- Hardware specifications and age
- Operating systems and patch levels
- Application versions and licensing
- Network topology and IP addressing schemes
- Storage configurations and capacity
- Backup and recovery systems
- Security controls and compliance requirements
Step 3: Classify Systems by Criticality
Not all systems are created equal. Categorize your infrastructure into three tiers:
Tier 1 (Mission-Critical): Systems that directly impact revenue or customer experience. Downtime is unacceptable.
Tier 2 (Business-Important): Systems that support operations but can tolerate brief, planned maintenance windows.
Tier 3 (Non-Critical): Development, testing, or administrative systems with flexible migration schedules.
This classification drives your entire migration sequence—you'll test your process on Tier 3 systems before touching anything mission-critical.
Phase 2: Planning and Design (Weeks 5-8)
Step 4: Develop Your Zero-Downtime Strategy
For each Tier 1 system, select the appropriate zero-downtime technique:
Data Replication: Implement real-time synchronization between source and target environments using storage replication, database mirroring, or change data capture methods. This creates a live twin of your production systems that stays perfectly synchronized.
Load Balancer Traffic Management: Configure load balancers to gradually redirect user traffic from old to new environments. Start with 5% of traffic, monitor performance, then progressively increase until you've completed the cutover.
Parallel Systems: Run redundant environments during migration with automated failover capabilities. Yes, it costs more upfront, but it's cheaper than explaining to executives why your ERP system took an unscheduled vacation.
Step 5: Create Detailed Migration Runbooks
For each system or application group, document step-by-step procedures covering:
- Pre-migration validation checks
- Exact migration commands and configurations
- Validation and testing procedures
- Rollback procedures if things go sideways
- Communication protocols and escalation paths
Your runbooks should be so detailed that someone unfamiliar with the system could execute them successfully. This isn't the time for tribal knowledge—document everything.
Step 6: Build Your Risk Mitigation Plan
List every potential risk, then answer three critical questions for each:
- What happens if this system fails during migration?
- How quickly must we restore it?
- What's our specific backup plan?
Common risks include network connectivity issues, incompatible software versions, data corruption, insufficient bandwidth, and the ever-popular "undocumented dependencies that suddenly appear." For each risk, define specific response strategies and assign owners.
Phase 3: Testing and Validation (Weeks 9-12)
Step 7: Execute Pilot Migrations
Start with your Tier 3 non-critical systems. These brave volunteers reveal the gotchas and gremlins lurking in your process before you touch anything important.
Treat pilot migrations with the same rigor as production moves. Document every issue, refine your runbooks, and test your rollback procedures. This testing phase is where successful migrations are truly won or lost.
Step 8: Conduct Comprehensive Testing
After each pilot migration, validate:
- Application functionality and performance
- Network connectivity and latency
- Data integrity and synchronization
- Security controls and access permissions
- Backup and recovery capabilities
- Monitoring and alerting systems
Don't just check if systems are "up"—verify they're performing at or above baseline metrics. Load testing reveals capacity issues before users do.
Phase 4: Execution (Weeks 13-20)
Step 9: Migrate in Logical Waves
Organize your migration into waves based on application groups, business units, or technical dependencies. A typical sequence:
Wave 1: Non-critical systems (already completed in testing)
Wave 2: Business-important systems with maintenance windows
Wave 3: Mission-critical systems using zero-downtime techniques
Wave 4: The most complex, interdependent systems requiring surgical precision
Schedule each wave with adequate buffer time. Rushing is how migration stories become cautionary tales shared in hushed tones at IT conferences.
Step 10: Execute Critical System Migrations
When migrating Tier 1 systems, precision becomes your religion. Follow your runbooks with military discipline, documenting every step and configuration change.
Maintain constant communication throughout the process. Your migration command center should buzz with status updates, validation checks, and clear decision-making. Everyone should know exactly what's happening and what's next—confusion is the enemy of successful execution.
Critical cutover checklist:
✓ Verify data replication is synchronized
✓ Configure load balancers for traffic redirection
✓ Update DNS records with appropriate TTL settings
✓ Implement network changes (IP addressing, firewall rules, routing)
✓ Validate application connectivity and performance
✓ Monitor user experience and transaction success rates
✓ Confirm backup systems are operational
✓ Update documentation and configuration management databases
Phase 5: Post-Migration Optimization (Weeks 21-24)
Step 11: Validate and Monitor
Don't declare victory the moment systems come online in the new environment. Monitor intensively for the first 48-72 hours, watching for performance degradation, intermittent errors, or capacity issues that only appear under real-world load.
Compare performance metrics against your baseline measurements. Sometimes issues lurk beneath the surface, only revealing themselves days after migration.
Step 12: Decommission Legacy Systems
Once you've confirmed the new environment is stable and performing well, begin the careful process of decommissioning old infrastructure. Don't rush this—maintain your legacy environment in a "warm standby" state for at least 30 days.
Securely wipe data from decommissioned equipment according to your compliance requirements. Update all documentation, network diagrams, and configuration management databases to reflect the new reality.
Essential Tools for Zero-Downtime Success
Application Dependency Mapping: Faddom, Device42, or ServiceNow Discovery automatically map application relationships and dependencies.
Data Replication: VMware vSphere Replication, Microsoft Azure Site Recovery, or Zerto for real-time synchronization.
Load Balancing: F5 BIG-IP, NGINX, or cloud-native load balancers for traffic management.
Project Management: Microsoft Project, Smartsheet, or Asana for timeline tracking and task coordination.
Monitoring: Datadog, New Relic, or SolarWinds for performance validation and issue detection.
Your Migration Success Checklist
Before you begin, ensure you have:
[ ] Executive sponsorship and adequate budget
[ ] Complete infrastructure inventory with dependency mapping
[ ] Dedicated project manager and cross-functional team
[ ] Detailed migration runbooks for each system
[ ] Comprehensive risk mitigation plan
[ ] Tested backup and rollback procedures
[ ] Communication plan for stakeholders
[ ] Performance baseline metrics for validation
[ ] Post-migration support plan
The Bottom Line
Zero-downtime data center migrations aren't magic—they're the result of meticulous planning, phased execution, and disciplined risk management. By following this step-by-step project plan, you transform what seems like an impossible feat into a series of manageable, well-orchestrated moves.
Start with thorough discovery, test relentlessly on non-critical systems, leverage proven zero-downtime techniques like data replication and load balancer traffic management, and maintain unwavering focus on validation at every step. Your users will never know you just pulled off the digital equivalent of changing tires on a moving car.
Ready to plan your migration? The key is starting with complete visibility into your current environment—because you can't successfully migrate what you don't fully understand.