
You open a game’s settings and it feels like diffusing a bomb. DLSS. FSR. Ray tracing. V-Sync. Frame gen. Half the sliders sound like marketing. The other half sound like aerospace.
Here’s the calm truth. These settings don’t “make it better.” They tell your GPU what to spend time on. And once you see the trade, you can tune any game fast.
The 30-second mental model: quality, latency, stability
Every PC graphics tweak pushes on three things:
- Quality: how sharp, detailed, and “real” the image looks.
- Latency: how long it takes your input to show up on-screen.
- Stability: consistent frame times. Not just a high average FPS.
Most people chase FPS. But your eyes feel frame pacing. A locked 90 that stays locked often feels better than 140 that stutters.
So as you adjust settings, ask one question. What matters in this game?
- Competitive shooter: latency + stability.
- Big single-player RPG: quality + stability.
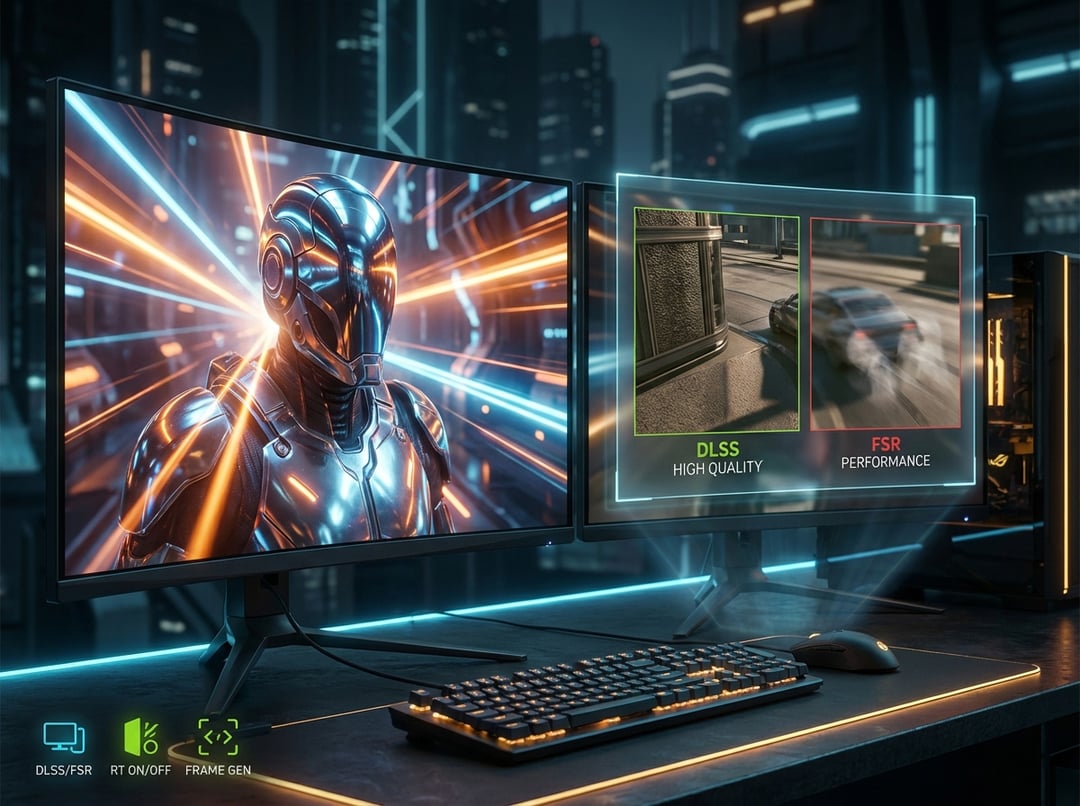
DLSS vs FSR explained: what they are and why they exist
Upscaling exists because native resolution got expensive. Modern lighting, dense geometry, and heavy post-processing cost a fortune in GPU time.
Both DLSS and FSR work the same way at the 10,000-foot level. They render the game at a lower internal resolution then reconstruct it to look close to your target output.
The difference sits in how they rebuild detail.
- DLSS (NVIDIA) uses dedicated hardware plus trained reconstruction models. It often holds detail together better in motion.
- FSR (AMD FidelityFX Super Resolution) aims for wide compatibility across vendors. Quality depends a lot on the FSR version and the game’s implementation.
In practice, the “DLSS vs FSR” choice matters less than three real-world variables: your output resolution, the mode you choose, and how stable the game’s motion data is.
For official overviews, start here: NVIDIA DLSS and AMD FSR.
Upscaling modes in menus: Quality, Balanced, Performance
Those presets mostly change internal resolution.
- Quality: highest internal resolution. Best clarity.
- Balanced: usually the sweet spot at 1440p and 4K.
- Performance: bigger FPS jump. More risk of artifacts.
- Ultra Performance: emergency mode. Best reserved for 4K output.
A good rule: the lower your output resolution, the less room you have to “fake” detail. At 1080p output, aggressive modes can look crunchy or unstable.
The three upscaling failure modes to watch
If an upscaler looks wrong, it usually fails in one of three ways:
- Shimmer: distant fences and foliage sparkle as you move.
- Ghosting: trails behind moving objects, particles, or HUD elements.
- Oversharpening: harsh edges and crawling outlines.
Fix order that works in most games: raise the upscaler preset first, reduce sharpening second, and disable extra anti-aliasing third if it conflicts.
Frame Generation: why it can feel amazing or awful
Frame generation creates synthetic frames between real frames. Your display shows more frames per second. Motion looks smoother. Your GPU does not magically compute the game faster.
That last part matters because your inputs still land on the real frames. Frame gen can increase perceived latency. Some games hide it well. Some feel floaty.
The “minimum real FPS” rule
Frame gen works best when you already have stable performance.
If your base FPS bounces hard, frame gen multiplies the weirdness. You get smooth-looking motion with inconsistent control feel.
A practical target: get a stable 50–70 real FPS first. Then enable frame gen to push the displayed experience into the 90–140 range.
Ray tracing: the beauty tax you should pay selectively
Ray tracing improves lighting realism. It can also obliterate FPS.
What it actually changes depends on the feature:
- RT reflections: huge “wow” in glossy scenes. Very expensive.
- RT global illumination: big realism jump. Often the most expensive.
- RT shadows: can look great. Sometimes subtle for the cost.
- RT ambient occlusion: often a mid-cost upgrade.
If you want the grown-up approach, do this: establish your baseline with RT off. Then enable one RT feature at a time. Keep the one you notice during normal play. Turn off the rest.
And when you do use RT, DLSS or FSR often funds it. You reclaim GPU headroom through upscaling. You spend it on rays.
For the underlying tech, Microsoft’s DXR overview helps: DirectX Raytracing.
V-Sync: tearing, latency, and the setups that actually make sense
Screen tearing happens when your GPU delivers frames out of sync with your monitor refresh. V-Sync forces alignment. That usually removes tearing. It can also add latency by queuing frames.
So V-Sync isn’t “bad.” It’s situational.
Three common setups
- No VRR monitor: V-Sync can clean up the image. Test input feel.
- VRR monitor (G-Sync or FreeSync): enable VRR. Use an FPS cap slightly below refresh.
- Esports priority: you might accept tearing to minimize latency.
VRR plus a sensible cap often gives the best mix of smoothness and responsiveness. For deeper display behavior explanations, Blur Busters is the gold standard.
The settings that secretly decide performance
Sometimes you flip DLSS and nothing changes. That usually means you hit a different bottleneck.
Resolution and render scale
Render scale is the blunt tool. Drop it and you reduce workload fast. Raise it and you punish your GPU fast.
Use it when a game’s upscaler looks bad. Otherwise, prefer DLSS or FSR since they reconstruct detail more intelligently than raw scaling.
Shadows, volumetrics, and “crowds”
These are the classic FPS killers:
- Shadows hit lots of lights and lots of pixels.
- Volumetrics like fog and clouds love eating GPU time.
- Crowds can slam the CPU. That creates stutter even with a powerful GPU.
Textures and VRAM: the stutter trap
Textures don’t always cost FPS directly. They cost VRAM.
When you run out, the game streams assets constantly. You feel it as hitching when turning quickly or entering a new area. If that happens, drop texture quality one notch before you touch anything else.
A repeatable tuning workflow (works in every game)
- Set resolution and refresh correctly in Windows and in-game.
- Pick a repeatable test scene or use the built-in benchmark.
- Choose a target: stable 60, 90, 120, or “best visuals at stable motion.”
- Choose upscaling: DLSS vs FSR based on your GPU support then start at Quality.
- Decide on ray tracing: enable one feature. Measure cost. Keep what you notice.
- Handle smoothness: VRR if you have it. Add a frame cap. Use V-Sync only if needed.
- Validate stability: watch 1% lows and frame times, not just averages.
If you want to get nerdy in a useful way, analyze frame times with PresentMon. Spikes explain “it feels bad” better than FPS does.
Quick takeaways you can remember mid-game
- DLSS vs FSR is less important than the preset and your output resolution.
- Frame gen boosts smoothness. It can cost responsiveness.
- Ray tracing should earn its FPS hit. Pay for what you’ll actually see.
- V-Sync solves tearing. VRR plus a cap often feels better.
- Stable frame times win. Always.